
Spark & Glow Plug Replacement Sets
Ford Ranger glow plug replacement involves removing the intake manifold components to access the cylinder head, testing resistance values, and carefully extracting the units using a deep socket. For the 3.2L Duratorq engine, it is critical to replace all five plugs simultaneously every 100,000 km or upon failure, using genuine Ford or high-grade ceramic replacement sets to prevent seizing and cylinder head damage.
In the rugged landscape of New Zealand, the Ford Ranger stands as the undisputed king of the ute market. However, even this reliable workhorse is susceptible to the cold starts of a South Island winter if its ignition components are neglected. Whether you are running the common 3.2L Duratorq diesel or a Next-Gen petrol variant, maintaining your ignition system is non-negotiable for performance and longevity.
A failing glow plug system does not just result in a rough idle; it can lead to increased emissions, battery strain, and in severe cases, internal engine damage if a tip swells and breaks off. This comprehensive guide serves as the technical authority for Kiwi Ranger owners and mechanics, covering everything from diagnostic testing to the critical removal of seized plugs.
Diagnosing Glow Plug Failure in Ford Rangers
Before ordering a replacement set, it is essential to confirm that the glow plugs are indeed the culprit. The Ford Ranger PCM (Powertrain Control Module) monitors the glow plug control module closely, but mechanical symptoms often appear before a Check Engine Light.
Common Symptoms of Failure
In the 2.2L and 3.2L diesel engines, the most common indicators include:
- Hard Starting: The engine cranks for longer than usual, particularly on mornings below 10°C.
- Rough Idle: Immediately after starting, the engine may misfire or run unevenly for several seconds until cylinder temperatures rise.
- White/Grey Smoke: Unburnt fuel due to lack of combustion heat manifests as exhaust smoke during startup.
- Engine Warning Light: Codes such as P0380 (Glow Plug/Heater Circuit “A” Malfunction) are definitive electronic indicators.
Diesel Glow Plug Testing Procedures
Testing is a vital step to determine if you need to replace a single unit or the entire set. However, professional consensus dictates that if one plug fails in a high-mileage engine, the entire set should be replaced to ensure balanced performance.
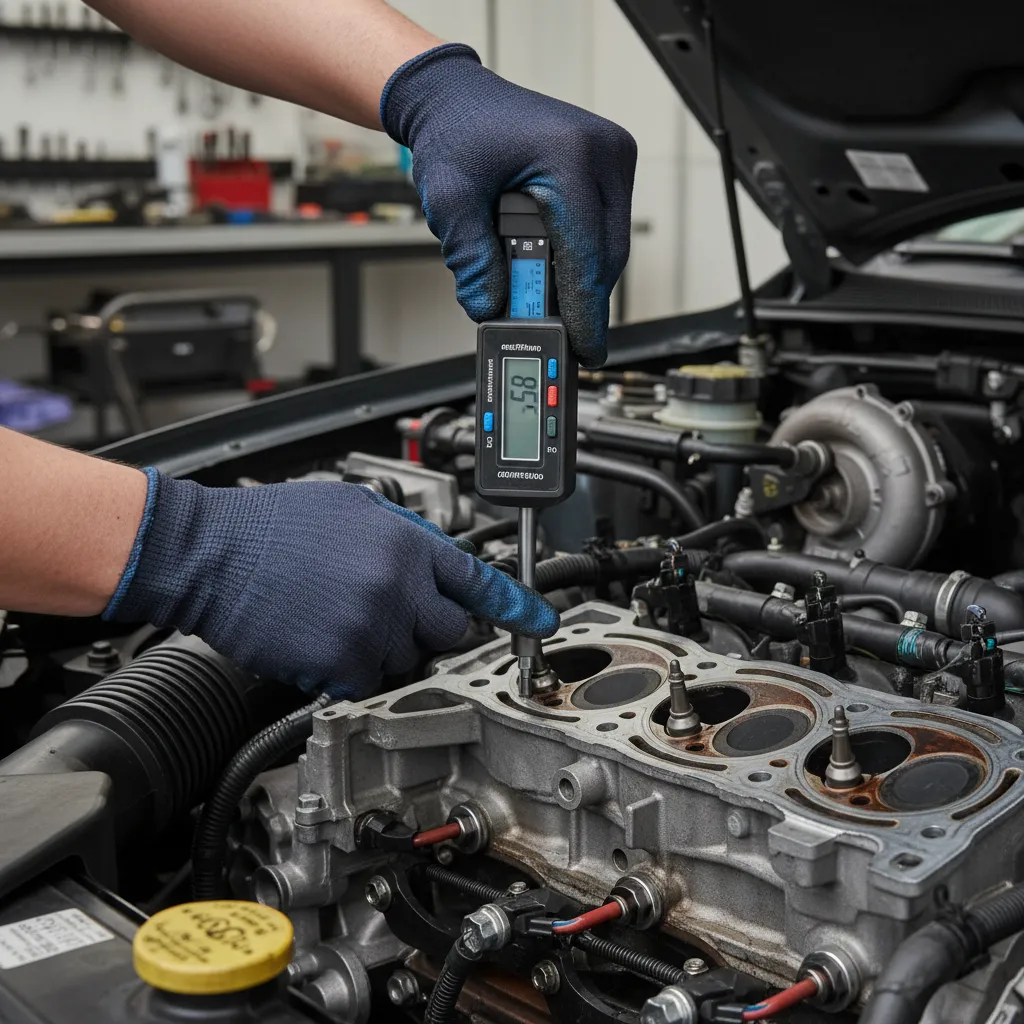
Using a Multimeter for Resistance Testing
You can test the plugs without removing them from the block, provided you can access the electrical rail.
- Disconnect the Battery: Always isolate the negative terminal before working on ignition circuits.
- Access the Rail: Remove the plastic engine cover and locate the bus bar or glow plug leads.
- Set Multimeter: Configure your digital multimeter to the lowest Ohms (Ω) setting.
- Measure Resistance: Ground the black probe to the engine block. Touch the red probe to the top terminal of the glow plug.
- Analyze Results: A healthy Ford Ranger glow plug typically reads between 0.5 and 2.0 Ohms. A reading of infinity (or “OL”) indicates an open circuit (dead plug). A reading near zero may indicate a short.
Current Draw Test
For a more advanced diagnosis, a clamp meter can be used to measure the amperage draw of the entire circuit during the pre-heat phase. A 5-cylinder 3.2L engine should draw substantial current initially (often 50-80 Amps total) before tapering off. significantly lower draw suggests one or more plugs are inactive.
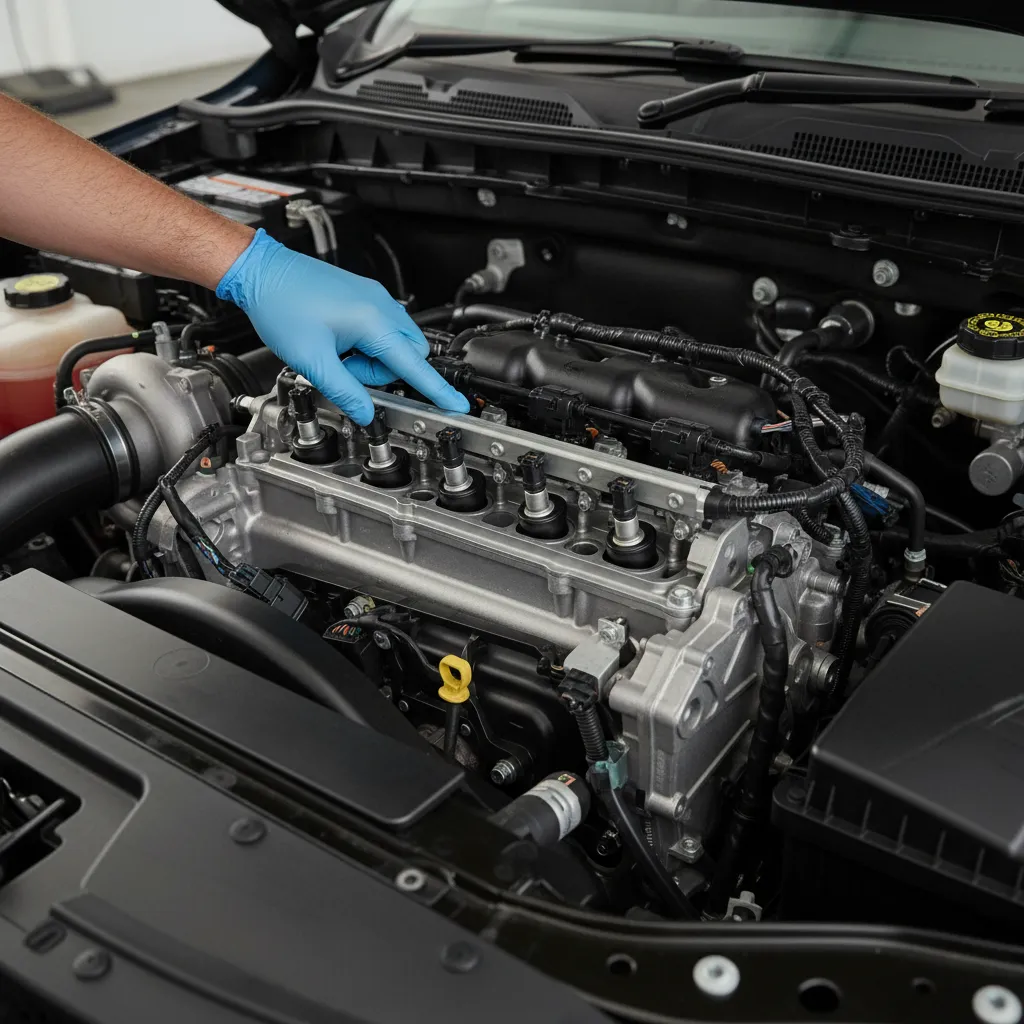
Step-by-Step Ford Ranger Glow Plug Replacement
Replacing the plugs on the PX1, PX2, and PX3 Ranger models requires patience. The 3.2L engine, in particular, presents access challenges due to the intake manifold and EGR cooler positioning.
Preparation Phase
Crucial Step: Begin this process 24 to 48 hours before the actual work. Apply a high-quality penetrating fluid (such as chemicals designed specifically to dissolve carbon and rust) to the base of the glow plugs. Perform this while the engine is warm (not hot) to allow thermal expansion to draw the fluid down the threads.
Removal Process
- Clear Access: Remove the intake piping and, if necessary, loosen the EGR cooler bracket to gain a direct line of sight to the glow plugs.
- Clean the Area: Use compressed air to blow away debris around the glow plug wells. You do not want dirt falling into the cylinder once the plug is removed.
- Disconnect Power: Unclip the electrical harness. Be gentle with the plastic connectors, as heat cycles make them brittle.
- Loosen the Plugs: Using a deep 8mm or 10mm socket (depending on the specific aftermarket or genuine part), apply steady, even pressure. Do not use an impact gun for removal.
- Back-and-Forth Technique: If you feel resistance, stop. Tighten the plug slightly (1/8th turn), spray more penetrant, and loosen again. This “working” of the threads clears carbon buildup.
Removal Tools for Seized Plugs
The nightmare scenario for any mechanic is a glow plug that snaps off in the head. This usually happens due to carbon seizing the tip or corrosion in the threads. If you encounter a seized plug, standard tools are insufficient.
Vibrating Impact Tools
Specialized low-torque pneumatic vibration tools are designed for this specific purpose. Unlike a standard impact wrench which applies high torque, these tools apply small, rapid vibrations while applying low torque. This vibration helps shatter the bond of the rust or carbon without exceeding the shear strength of the glow plug metal.
Extraction Kits
If a plug snaps, you will need a dedicated glow plug extraction kit. These kits generally include:
- Guides and Drills: To drill out the center electrode straight and true.
- Taps: To cut new threads into the remaining shell of the plug.
- Slide Hammers: To pull the remaining tip out of the cylinder head.
Warning: Using an extraction kit carries the risk of pushing metal shavings into the cylinder. It is often safer to consult a specialist diesel mechanic if a plug snaps, as cylinder head removal may be the only fail-safe repair method.
Petrol Ranger Spark Plug Intervals
While the diesel Ranger dominates the NZ commercial sector, the introduction of the Next-Gen Ranger Raptor and the 2.3L EcoBoost models has brought spark plugs back into the conversation.
Replacement Intervals
Unlike diesel glow plugs which are replaced on failure or high mileage, petrol spark plugs have a strict maintenance schedule.
- 2.3L EcoBoost: Replace every 60,000 km to 80,000 km. Turbocharged engines are hard on plugs due to higher cylinder pressures.
- 3.0L V6 Twin-Turbo (Raptor): High-performance demands require inspection every 40,000 km and replacement typically by 60,000 km to maintain peak power and fuel efficiency.
Gap and Specifications
Modern EcoBoost engines require precise gapping. The typical gap is roughly 0.7mm to 0.8mm, but always check the specific part number. Using Iridium-tipped plugs is mandatory for these engines; standard copper plugs will wear out rapidly under the intense heat of a twin-turbo setup.

Selecting the Right Replacement Sets
When sourcing a replacement set for a Ford Ranger, the market offers Genuine Ford (Motorcraft) and various aftermarket options. In a commercial environment, reliability is paramount.
Genuine vs. Aftermarket
Genuine Ford Parts: These are built to the exact thermal specifications of the Duratorq engine. They heat up at the correct rate programmed into the ECU. Using genuine parts eliminates the risk of “swelling tips,” a common issue with cheap aftermarket plugs where the heating element expands and cannot be removed from the head.
Ceramic Glow Plugs
Some modern replacement sets utilize ceramic heating elements rather than metal. Ceramic plugs can reach higher temperatures faster (up to 1000°C in under 2 seconds) and have a longer service life. However, they are more brittle. If your vehicle came with ceramic plugs, you must replace them with ceramic plugs. Switching types often requires an ECU software update.
Preventative Maintenance & Longevity
To extend the life of your new glow plug or spark plug set, follow these installation best practices:
Torque Specifications
Over-tightening is the leading cause of thread damage and future seizing. Always use a torque wrench.
- Glow Plugs (3.2L Diesel): Typically 10-15 Nm (Check specific manual).
- Spark Plugs (Petrol): Typically 15-20 Nm.
Anti-Seize Application
There is debate regarding anti-seize on glow plugs. The general consensus for Ford Rangers is to apply a very small amount of high-temperature nickel-based anti-seize to the threads only. Never apply anything to the heating tip or the seat, as this interferes with the electrical ground and heat dissipation.
Clean Electrical Connections
Ensure the bus bar or plug leads are free of corrosion. High resistance in the wiring caused by corrosion can lead to weak heating performance, even with new plugs installed. Use contact cleaner on the harness connectors before reassembly.
By investing in high-quality replacement sets and adhering to strict installation protocols, you ensure your Ford Ranger remains reliable, regardless of the freezing conditions it faces.
How often should Ford Ranger glow plugs be changed?
There is no strict service interval for glow plugs like there is for oil filters. However, on the Ford Ranger 3.2L, it is recommended to proactively replace the set between 100,000 km and 150,000 km, or immediately if cold start issues arise. Replacing them before they fail prevents them from seizing in the cylinder head.
Can I drive my Ranger with a bad glow plug?
Yes, you can drive with a bad glow plug, especially in warmer weather. However, it is not recommended for long periods. It can cause rough idling, increased emissions, and potential DPF (Diesel Particulate Filter) clogging due to incomplete combustion during the warm-up phase.
What is the cost of a Ford Ranger glow plug replacement?
In New Zealand, a genuine set of 5 glow plugs for a 3.2L Ranger typically costs between $200 and $400 NZD for the parts. Labor can vary significantly depending on whether the plugs are seized, but expect 2-3 hours of labor for a standard replacement.
How do I know if my Ranger glow plugs are bad?
The primary signs are difficult starting on cold mornings, white smoke from the exhaust during startup, a rough idle that smooths out as the engine warms up, and an illuminated engine warning light or glow plug coil symbol on the dashboard.
Do I need to replace all glow plugs at once?
Yes. If one glow plug fails, the others are likely near the end of their lifespan as well. Replacing them as a matched set ensures consistent cylinder heating and combustion. It also saves labor costs by not having to repeat the disassembly process soon after.
What happens if a glow plug snaps during removal?
If a glow plug snaps, the vehicle cannot be driven safely if the cylinder is not sealed. Specialized extraction tools are required to remove the broken portion. In worst-case scenarios, the cylinder head must be removed and sent to an engineering shop for machining, which is a costly repair.